Noah Rüttimann
Week 1
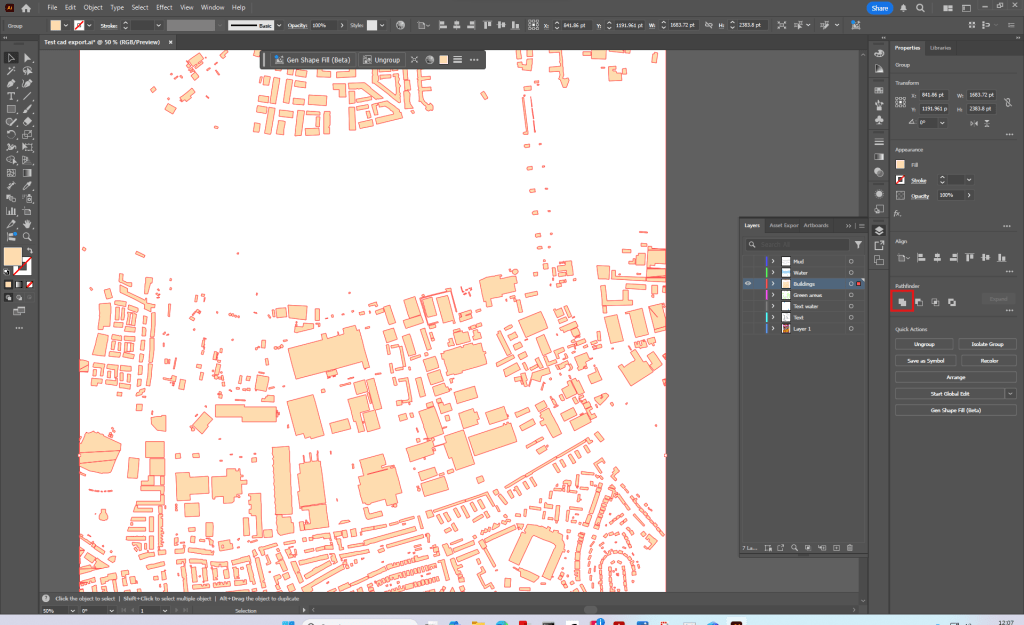
This first lesson, lead by Kris, was all about a steady introduction to the basics of Autocad.
Due to my previous work with Autocad as a draughtsman in a Landscape Architecture office, I already have a basic understanding of the whole planning process in Autocad
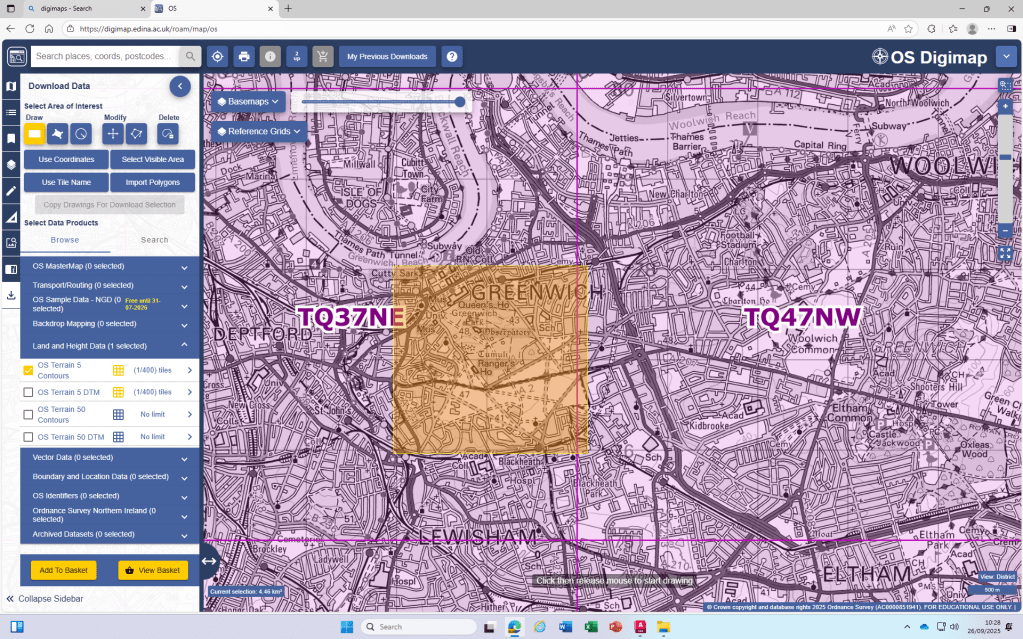
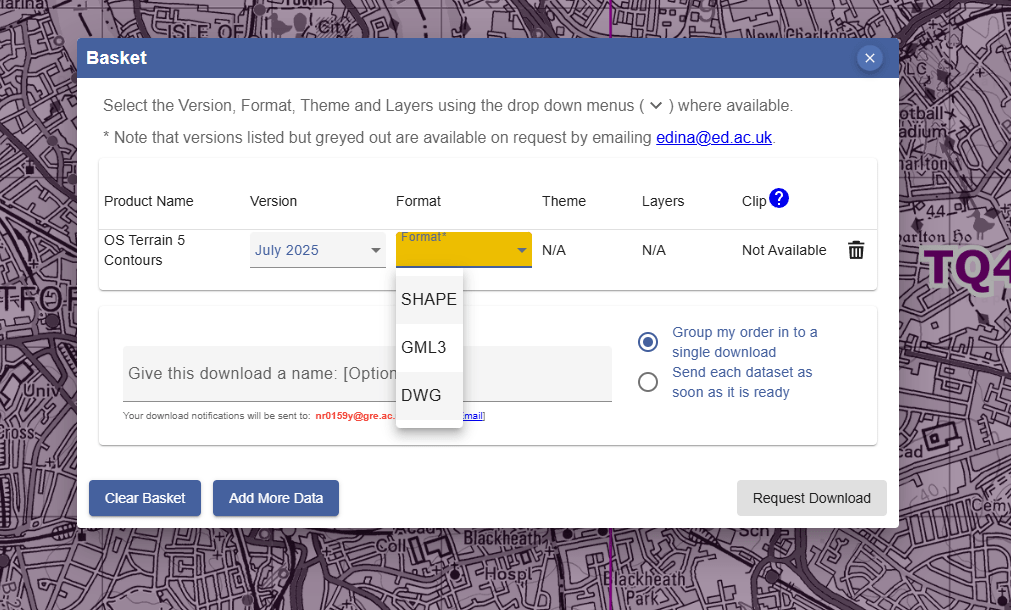
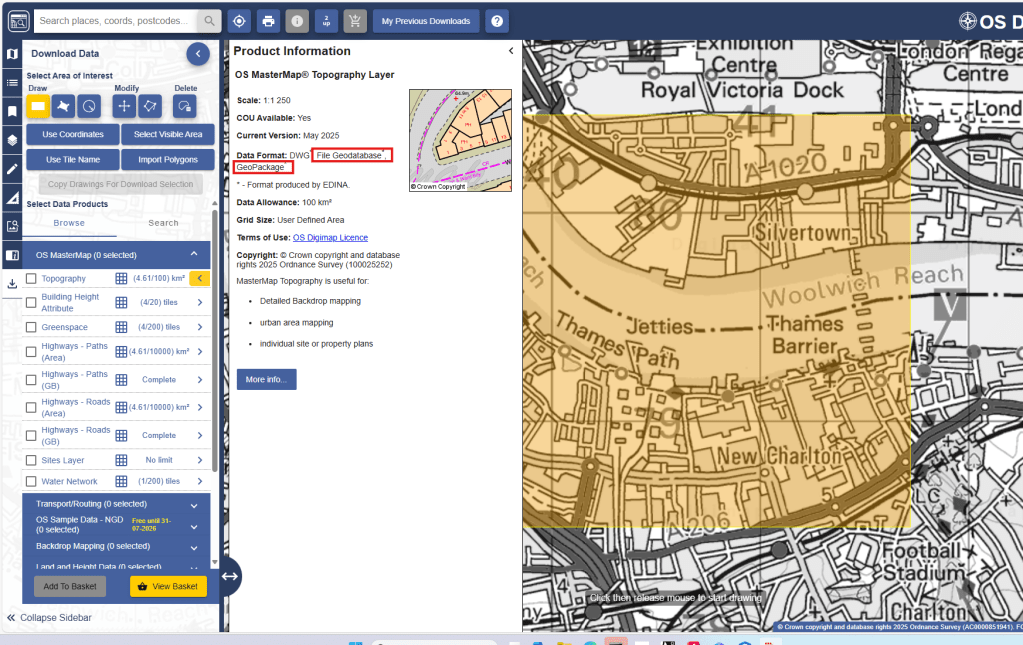
DWG download from Digimaps:
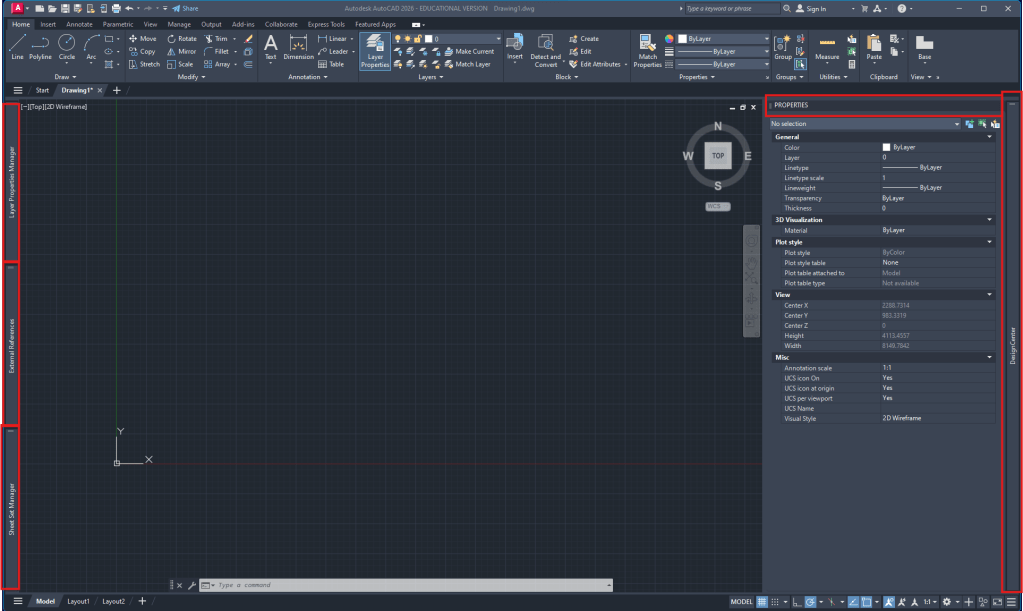
Autocad workspace setup:
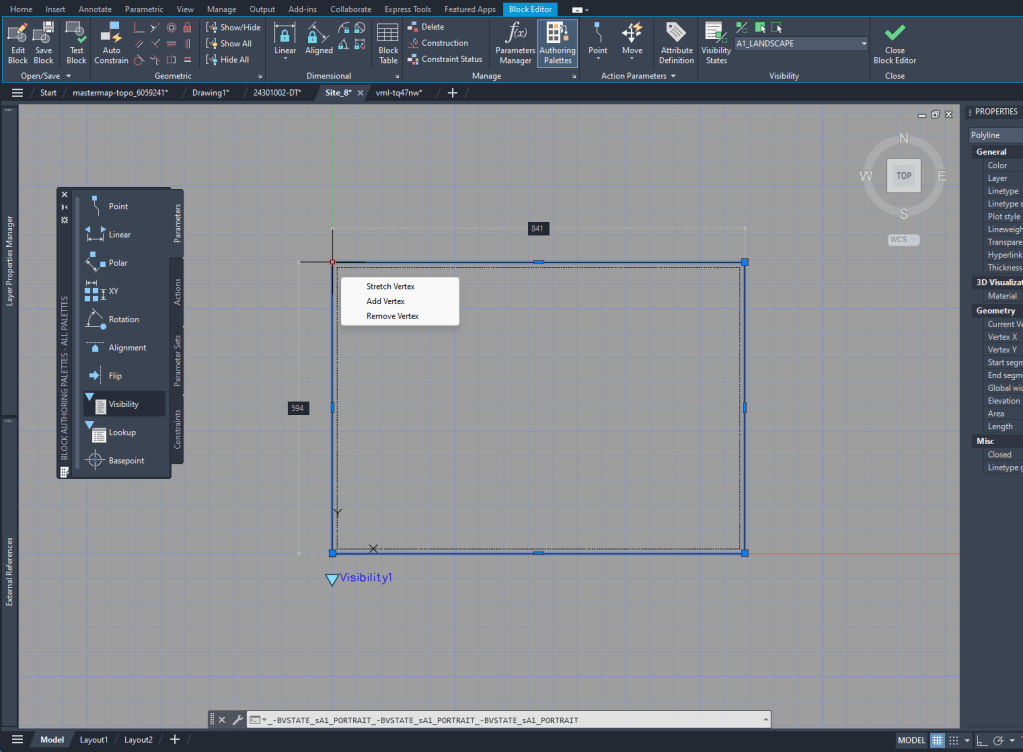
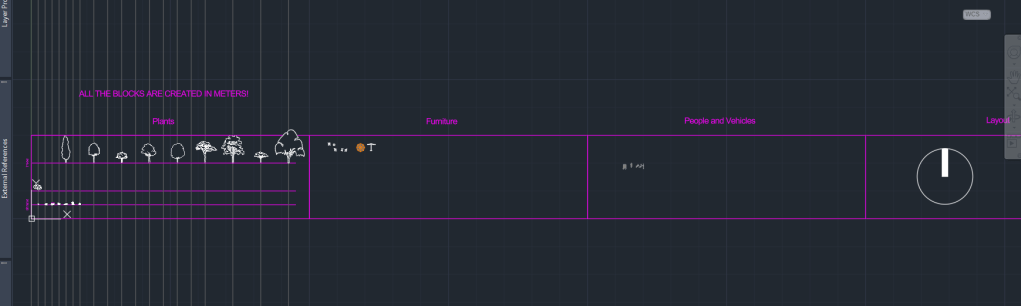
For the layout creation it’s helpful to see the outline in the Model Space. To do that I created a block of the size of the A1 layout and added Block creation
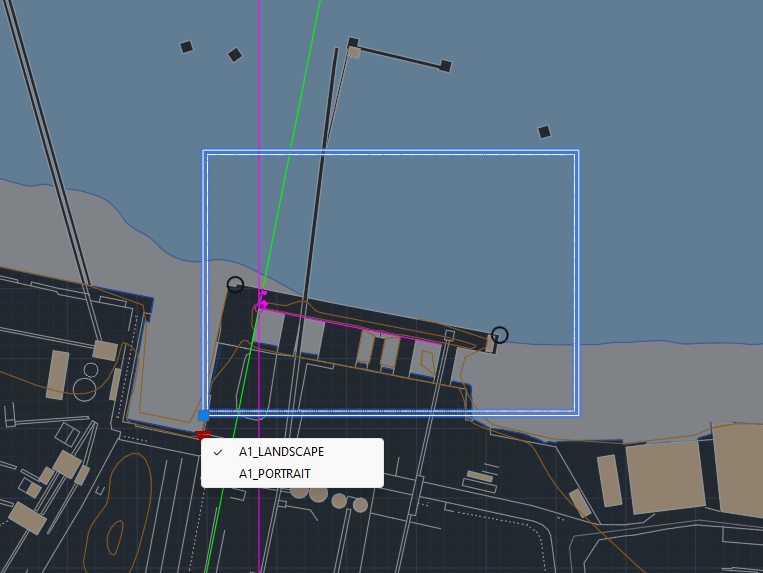
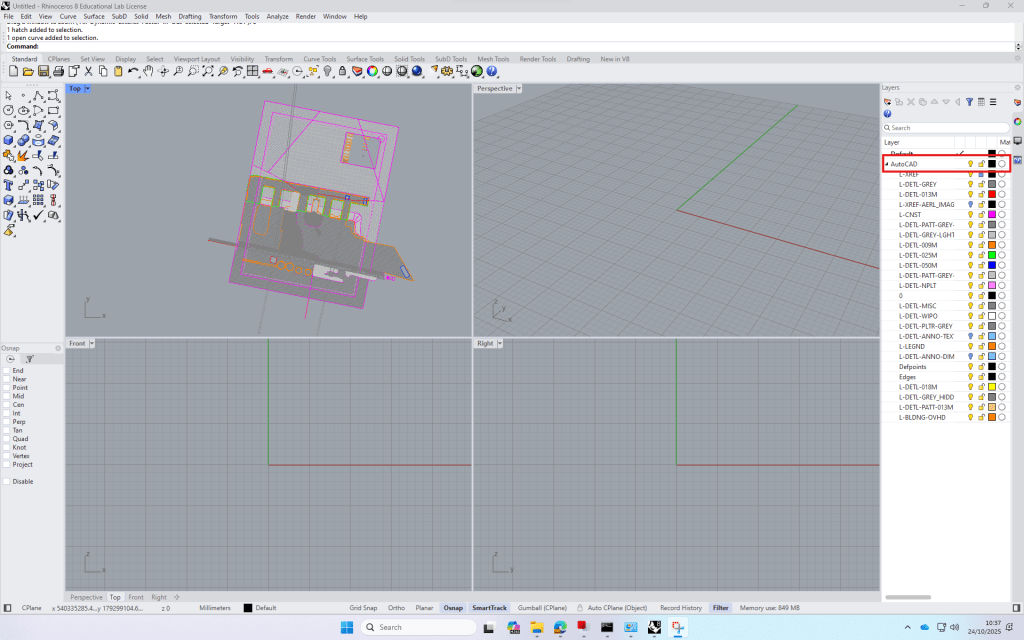
UCS creation for Site plan:
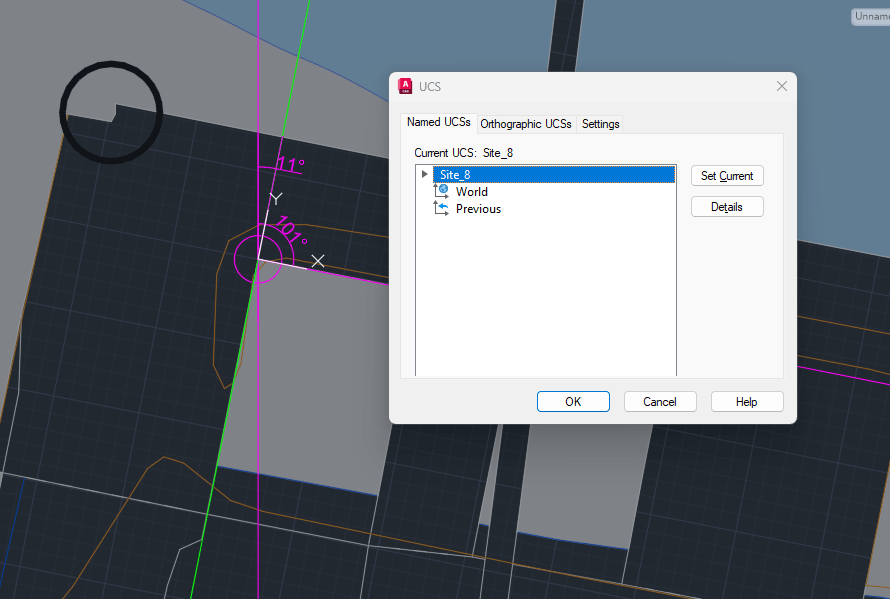
Alignment with existing buildings. ‘UCS‘ to create new. ‘ucsman‘ to give it a name.
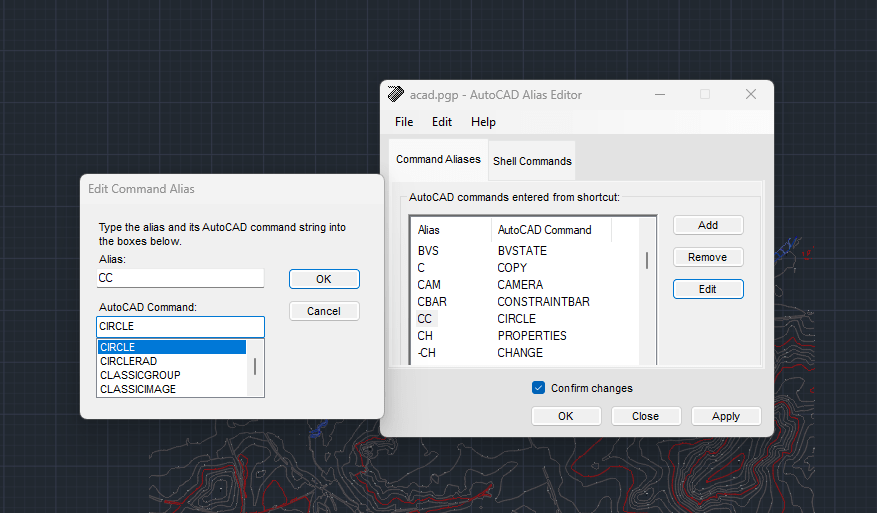
‘commandalias’ to manage/rearrange shortcuts
Week 2
Digimap
- Due to the Digimap files having the scale in meters, we are always going to ‘
scale‘ the drawings by 1000 to achieve the scale in mm that we will use in our drawings.
I realized that the standard unit-settings are often set to INCHES. So I use -dwgunits to set the units to MILIMETERS to prevent any issues with the layout/drawing later on.
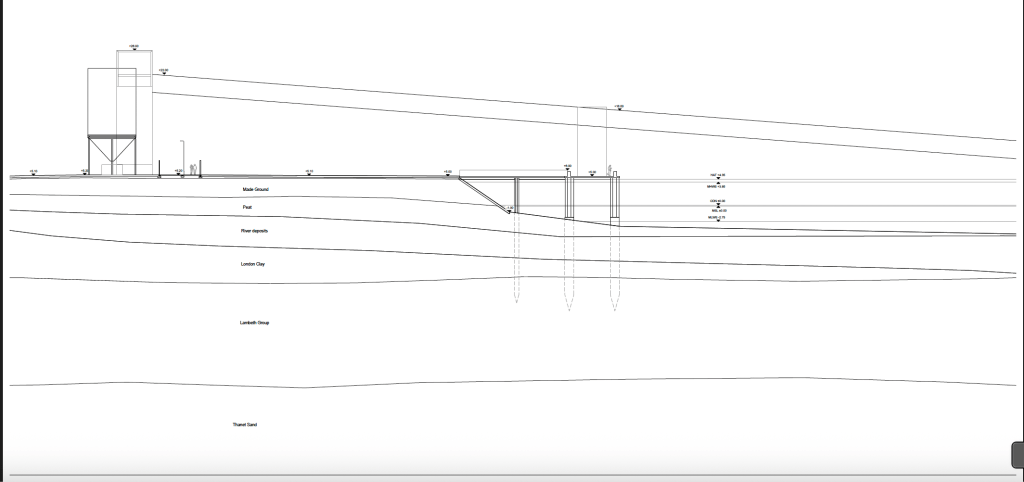
We spent most of the day looking at the important steps of drawing a Section.
For the section I XREF the downloaded and scaled file from digimap.
By using the file as an XREF I can:
- make sure that the original file is not damaged in any way
- work directly with my own layers without having to deal with the huge amount of layers from the digimap file
- clip the xref on a certain cutout if I only need one part of the plan to be visible. (‘xclip’)
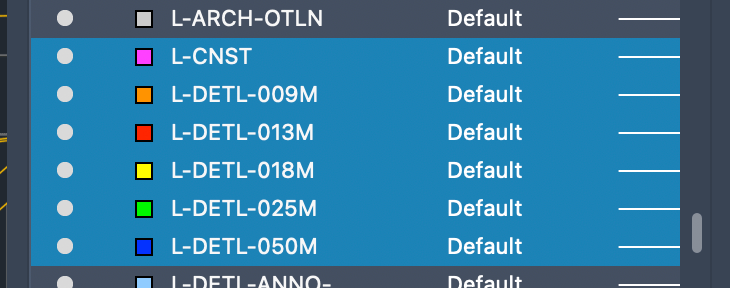
Layers
To be able to work with different lineweights I use the Layer setting I used to work with in practice.
The lineweight is always written in the layer-name and is also differenced by the colors of the layers.
Besides the Section I decided to start my own block-library for future cad drawings with various objects, plants or annotation blocks.
A big Problem with blocks, especially if they are downloaded from the Internet is the file size. Depending on the way they are created, blocks can exist out of hundereds, if not thousands of lines/vertexes, arcs or even ❗️splines❗️.
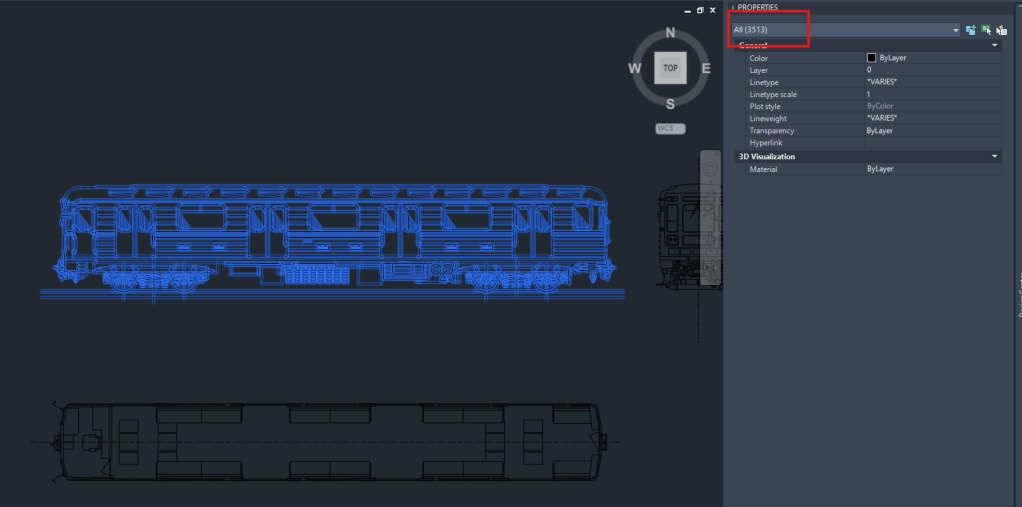
Example of a block, I downloaded from the web today, containing over 3000 Objects!
So I think it’s very important to clean up the blocks and minimize the amount of data that it contains. !Cleaning up a block can be a very time consuming action!
Due to some rather exhausting experiences with large file sizes (especially sections) and crashing computers, I became very picky when it comes to choosing blocks for my drawings. That’s why I only added few trees and other blocks to my library yet that are simple and cleaned up in a lot of hours of moving or deleting lines
Section of todays class.
Week 3
Today’s last AutoCAD introduction class was about practicing Hatching and adding Detailed information to our Project-Site Plans.
To get started I added the detailed Information of the pavers. However for our final Site Plan Layouts of the scale 1:200, it doesn’t make sense to add so much Detail to the Plan as it will only be visible as a black surface.
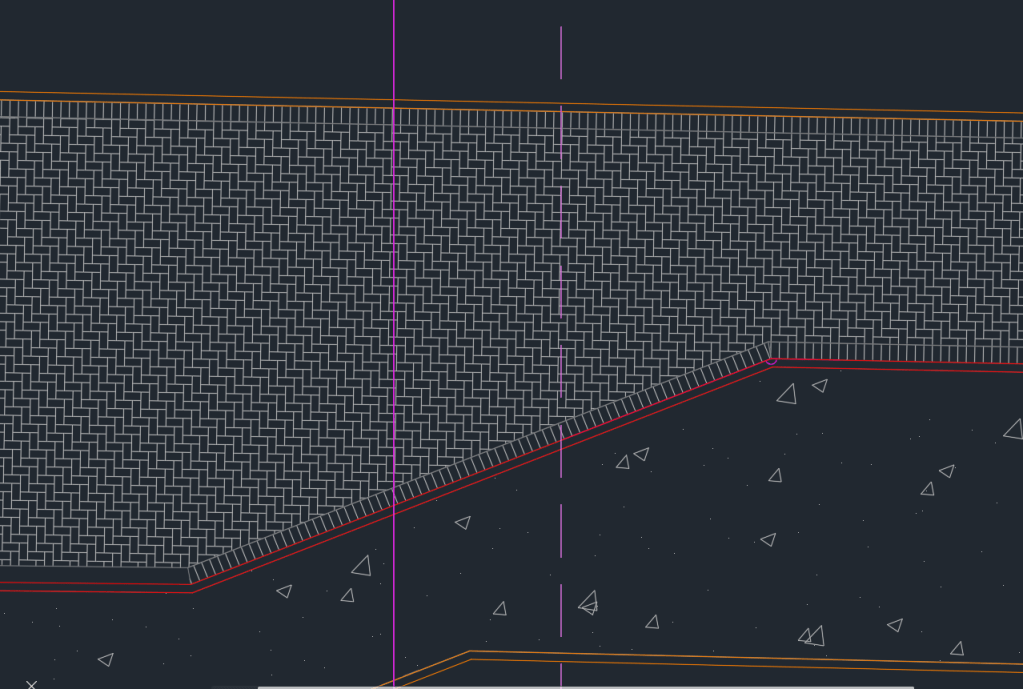
Part of the Stone Paving on my Site Plan
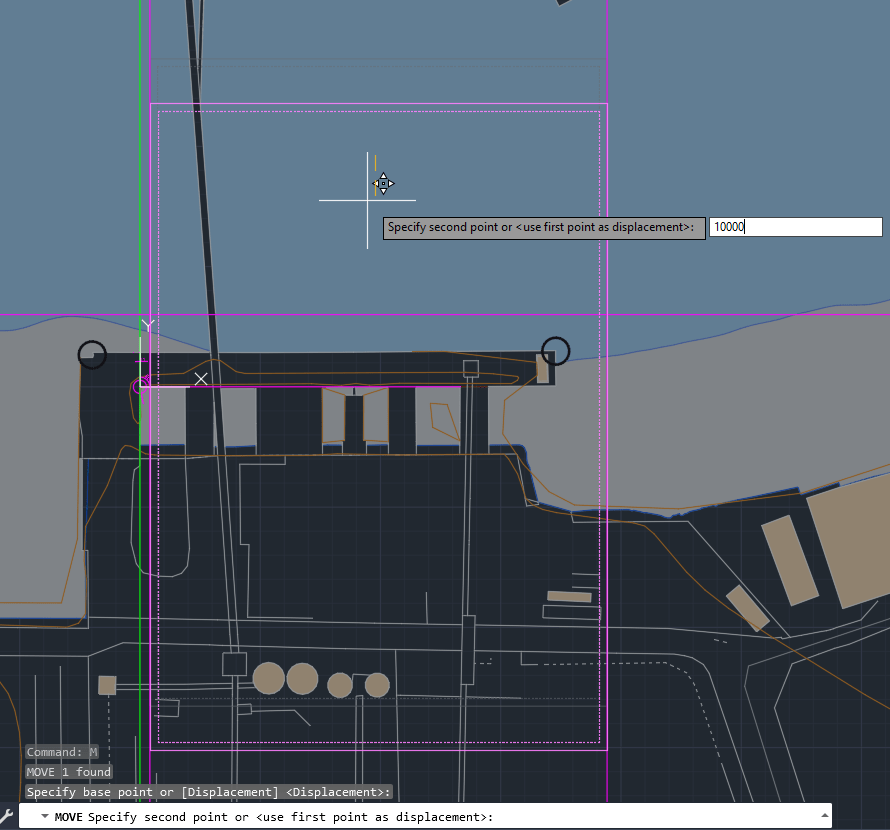
I also spent some time to move my Site to include the Thames Path and reduce the amount of water area, which is important for the further process of our Design Project.
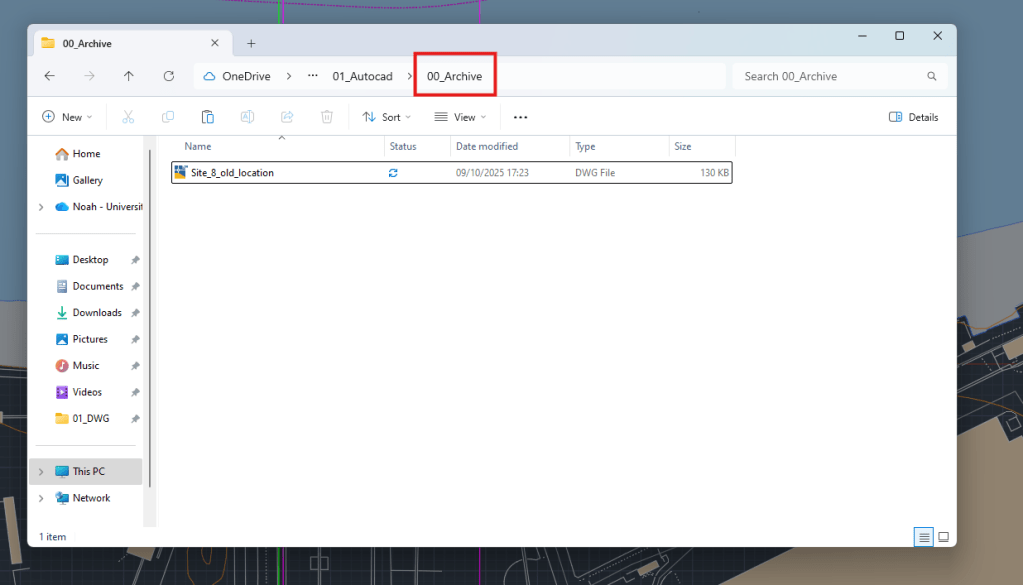
Archive of old Site Plan
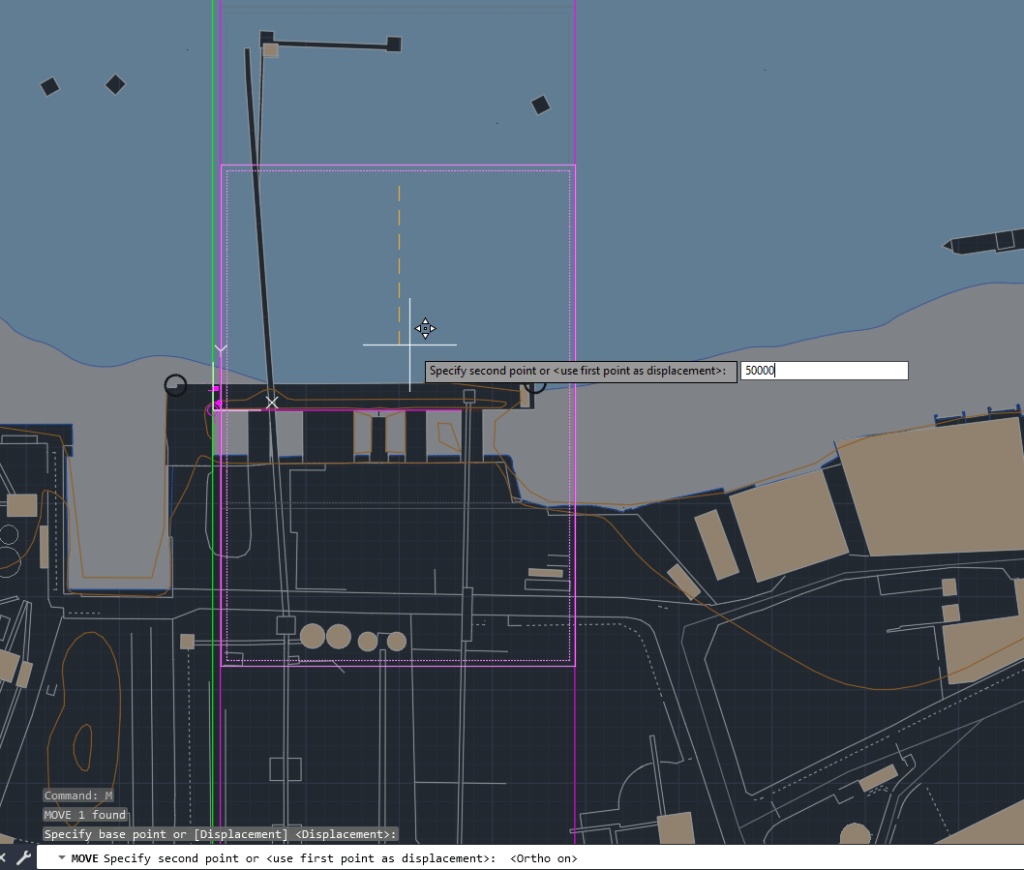
Moving the site down (ortho)
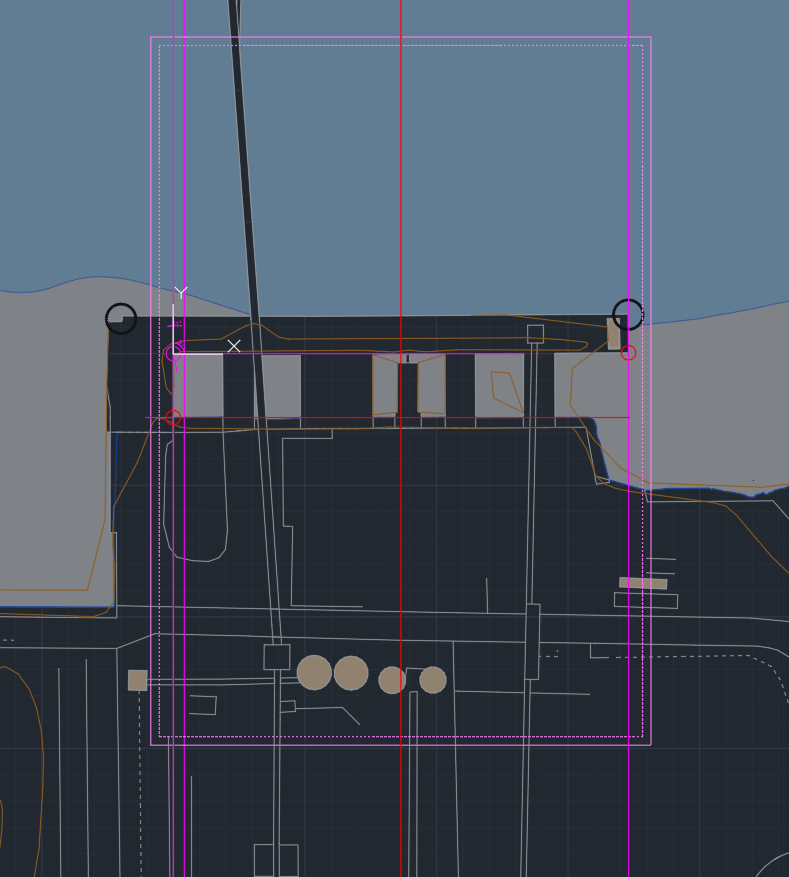
Final site location now includes the Tames Path and Part of the industrial site.
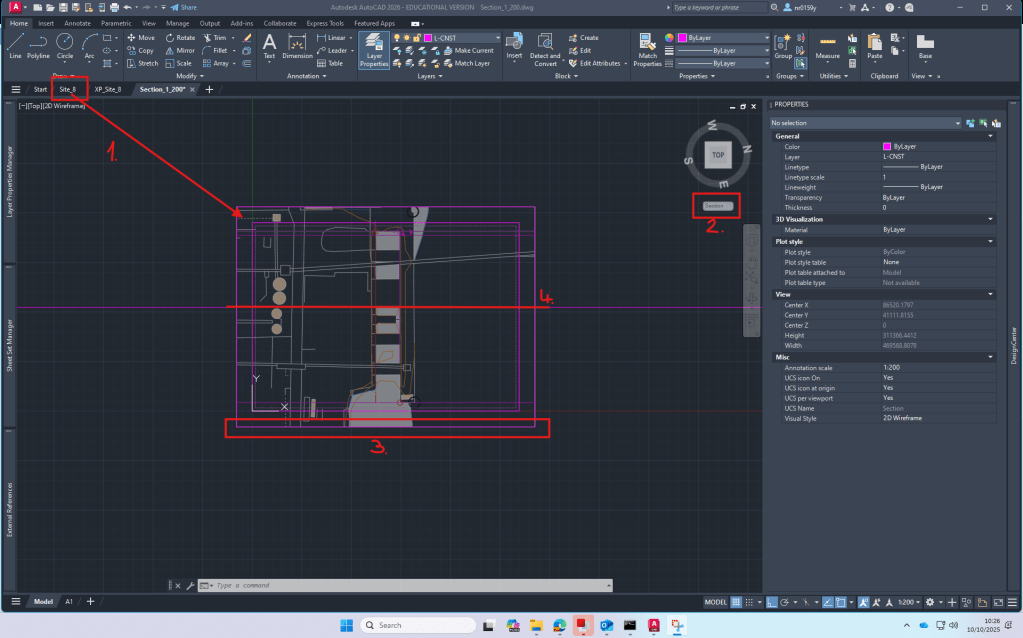
Setup 1:200 Section: XREF site plan -> create new UCS -> create clipping boundary for site plan -> Determine Section line.
Week 4
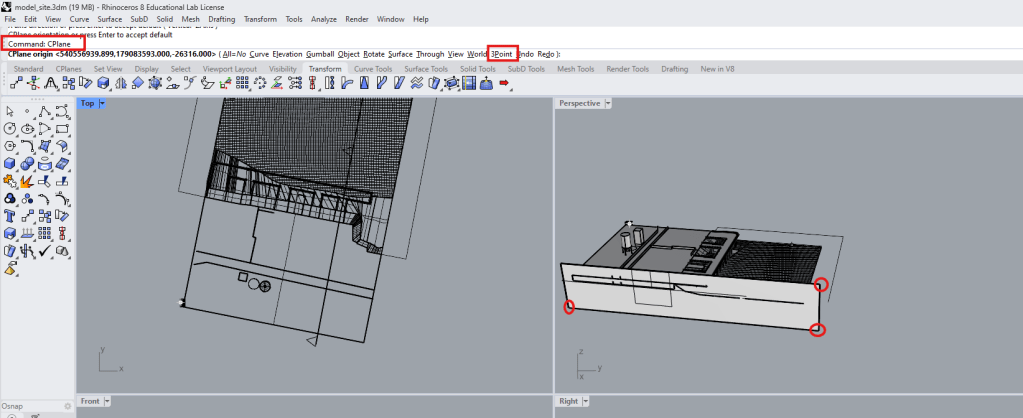
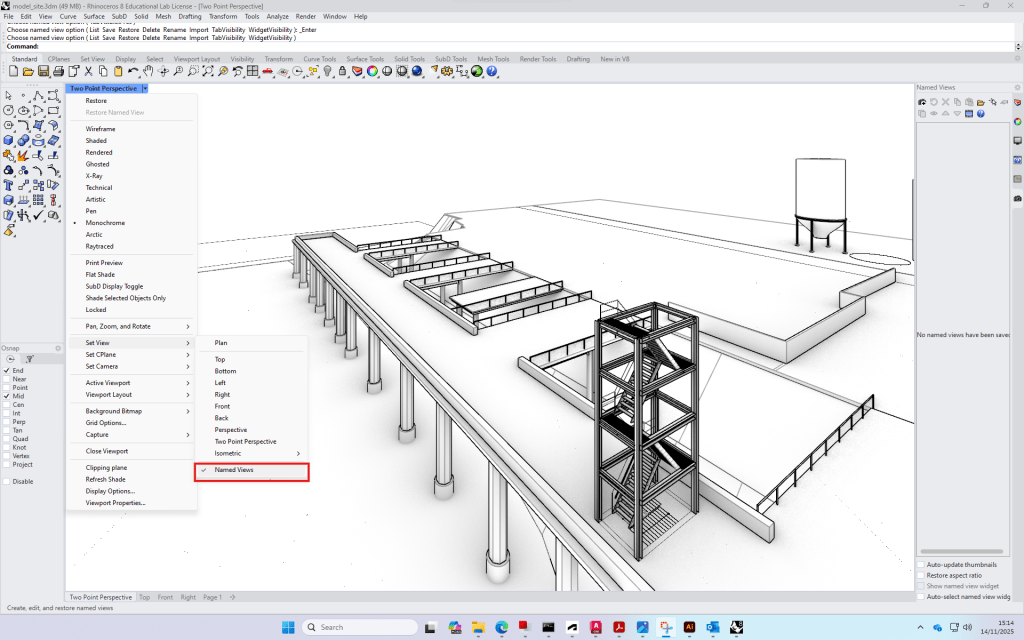
First class of Rhino
Rhino is a modelling software that works great with autoCAD. It’s easy to import your cad-plans and then visualize it. It’s also a good tool to build models from scratch.
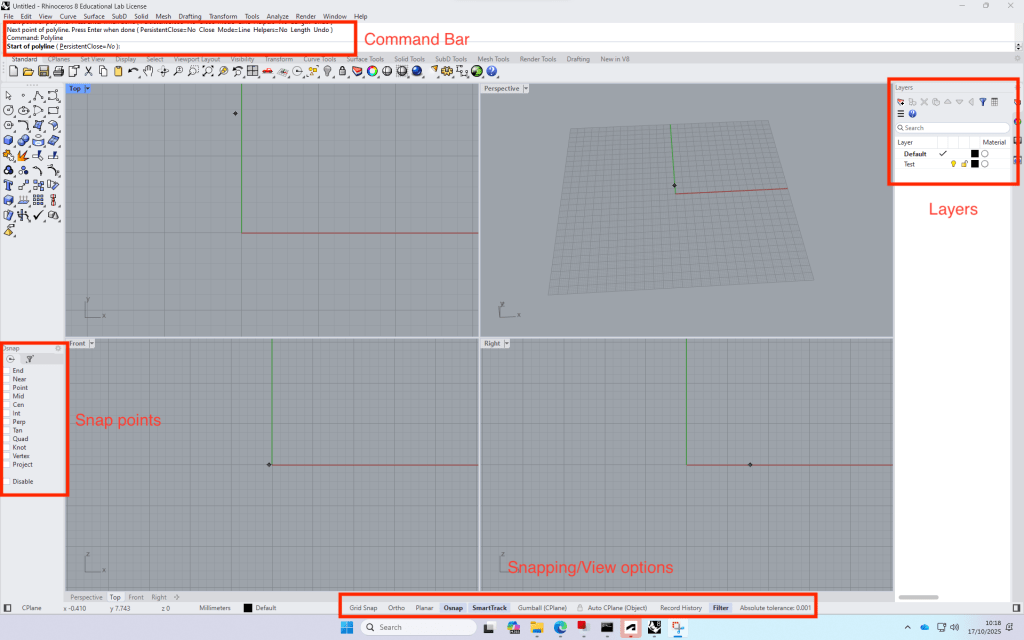
Build up: Four views -> can be opened by double clicking on the view name.
The commands are very similar to AutoCAD.
+ with the time, the program remembers your favourite commands
Test file process:
- Create a rectangle (Top view)
- Switch to Perspective view and type in “ExtrudeCrv”, then drag the midpoint of the line and type in the distance (height) of the block.
- Copy the block and type in the required distance, repeat.
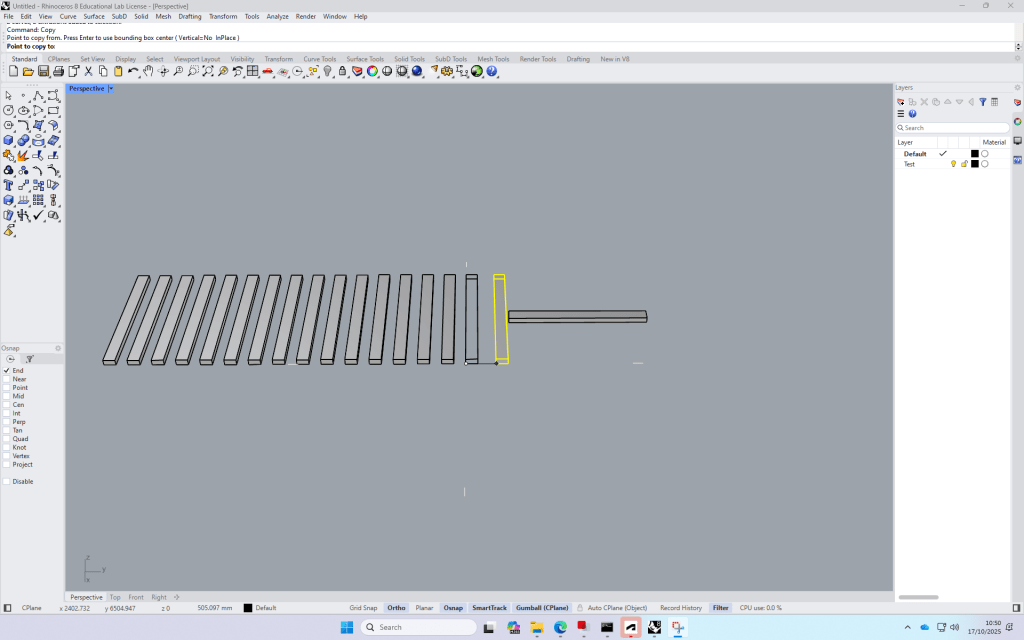
Test file “Train station”
How to create a Terrain model from digimap terrain downloads:
- Download the required Area on Digimap
- Open a new file and import the
Week 5
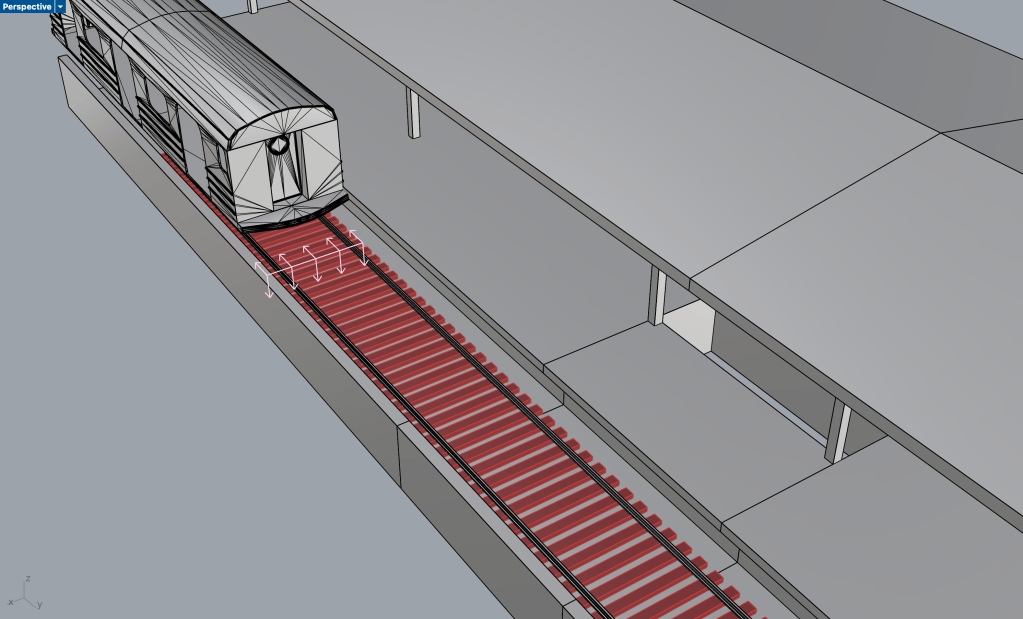
Today we started modelling our site in Rhino
To start off I imported my cad-site plan.
To extrude the cad lines, I first used command ‘project’ to bring them onto my model surface, which is 5 meters above ±0.00
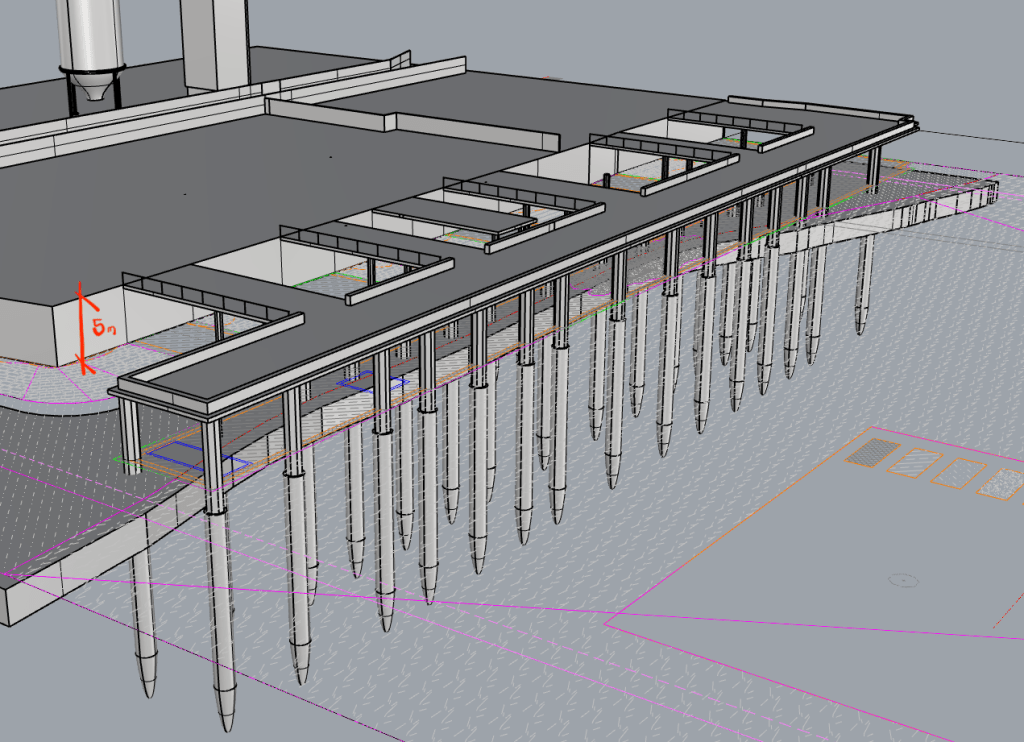
For the river Platform I modeled one of the concrete poles and then copied it according to my investigation to get the whole substructure.
Week 6
Today we continued working on our rhino models.
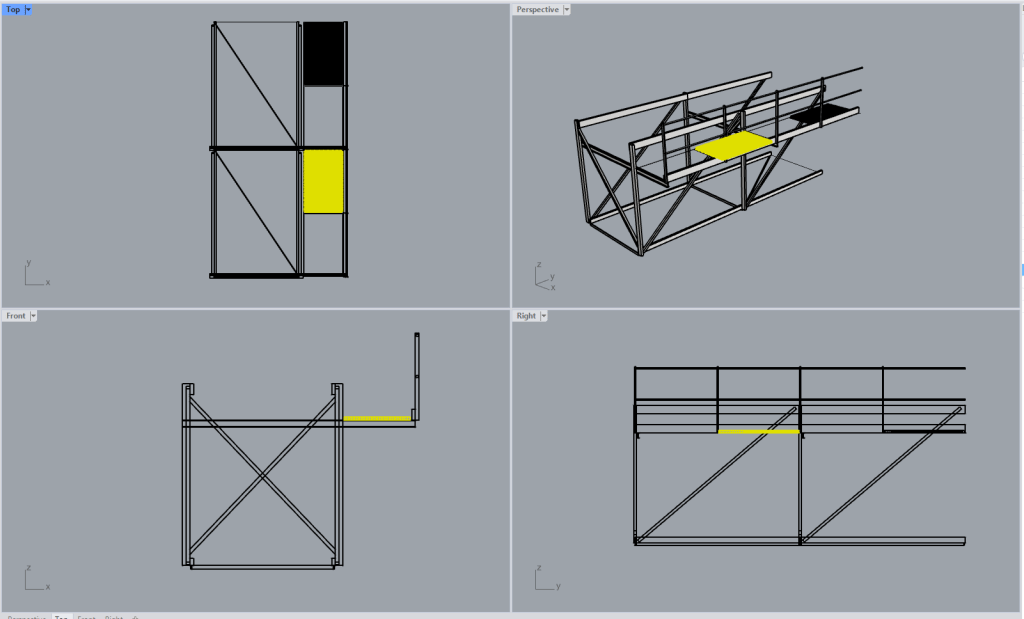
I spent most of the time modelling one of the conveyor belts on my site in detail.
We also had an introduction on how get site information from ArcGIS
Digimap data can be downloaded and used directly in ArcGIS, where it is layered, analysed and visualised as part of a GIS workflow.
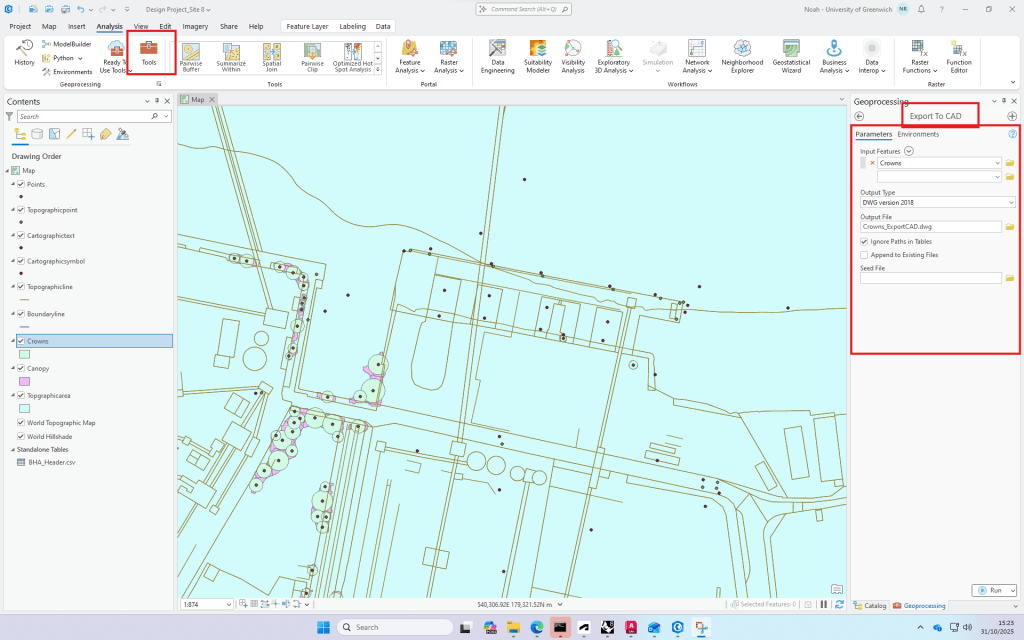
Export of tree data to cad.
Week 7
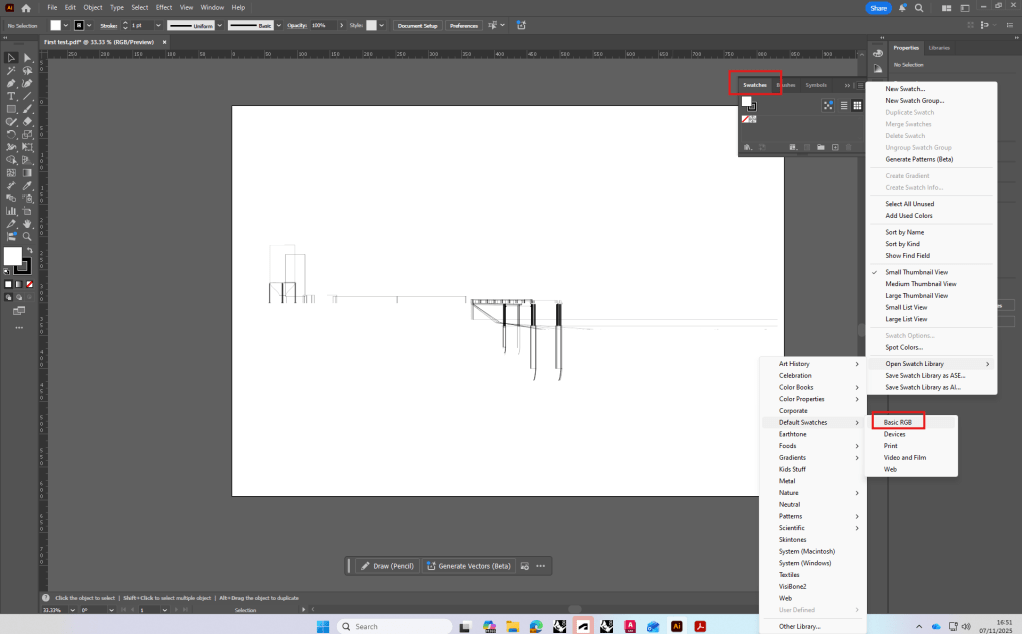
Today we had our first introduction in Illustrator.
To start we looked at how to create a section in Rhino and export it to illustrator.
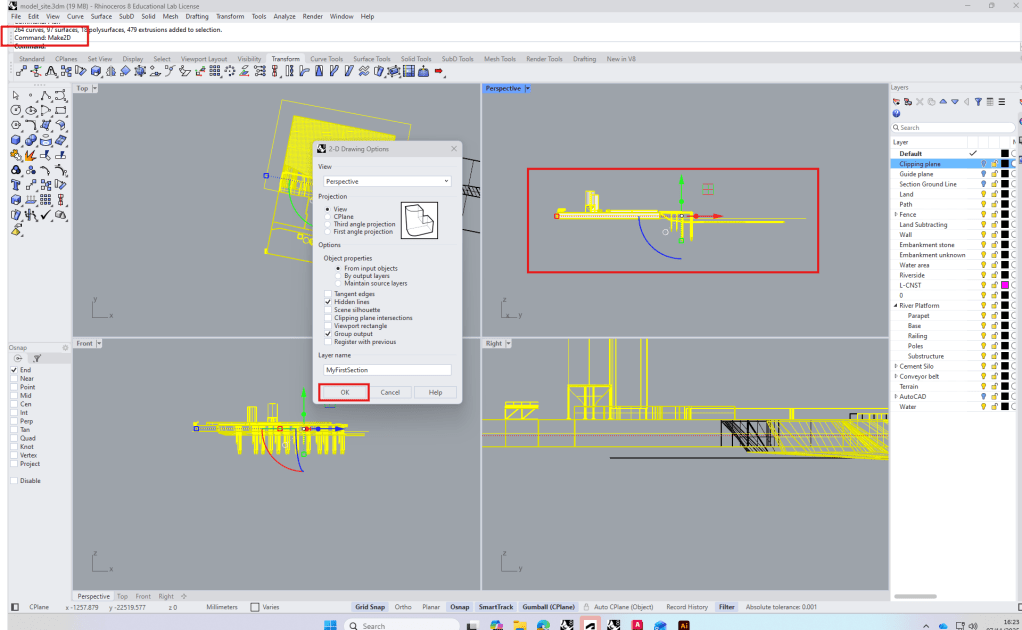
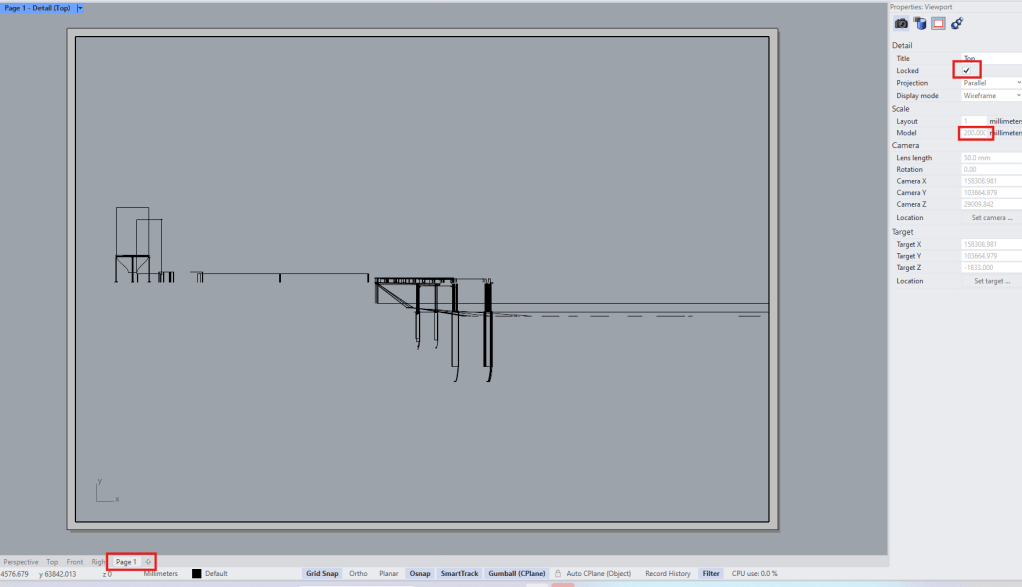
From the make2d file we create a new Layout and set the right scale in the properties window. (wrong settings here let to a lot of objects not being visible in the section).
The exported pdf was then opened in Illustrator and the clipping mask released.
I had already created a template for my hand drawn design studio section, so I decided to finalize it and take it to illustrator afterwards for my ExCom submission.
Week 8
For the final submission we looked at how to set and export isometric/two point perspective/regular views.
We then had further introductions to Illustrator.
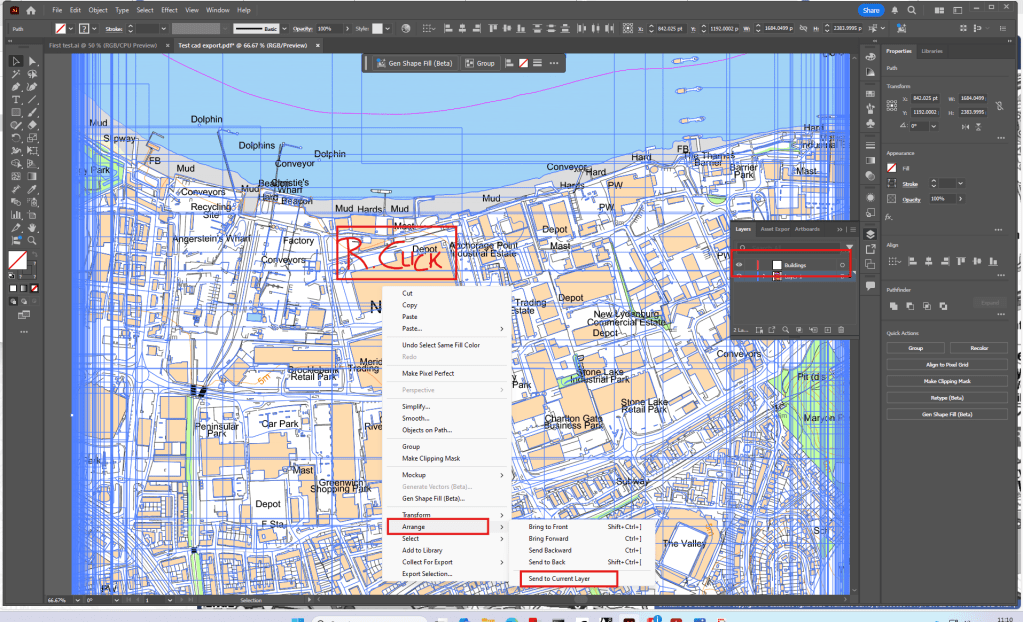
Location map, separating hatches/lines and managing layers.
Week 9
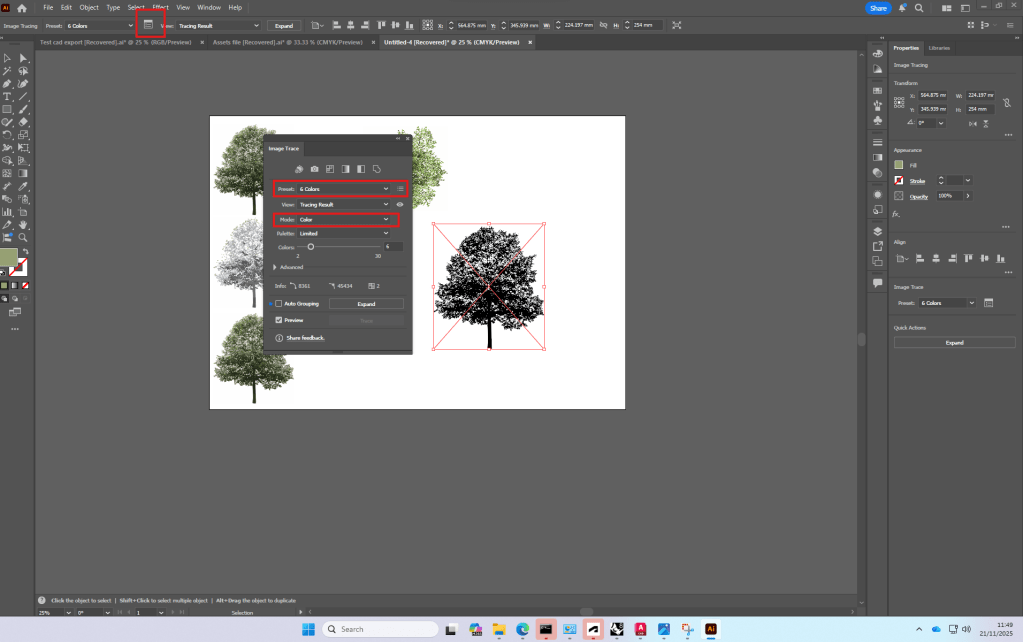
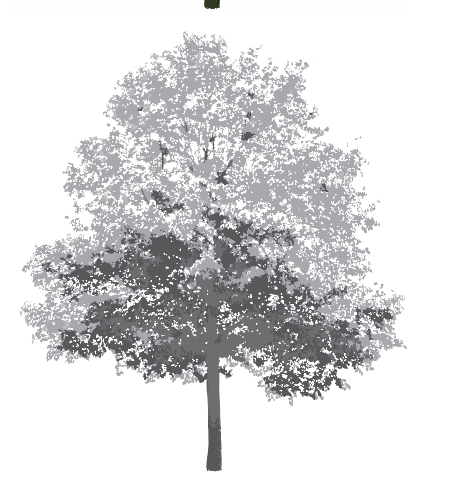
Using a png of a tree we looked at how to use image trace and make color adjustments in illustrator.
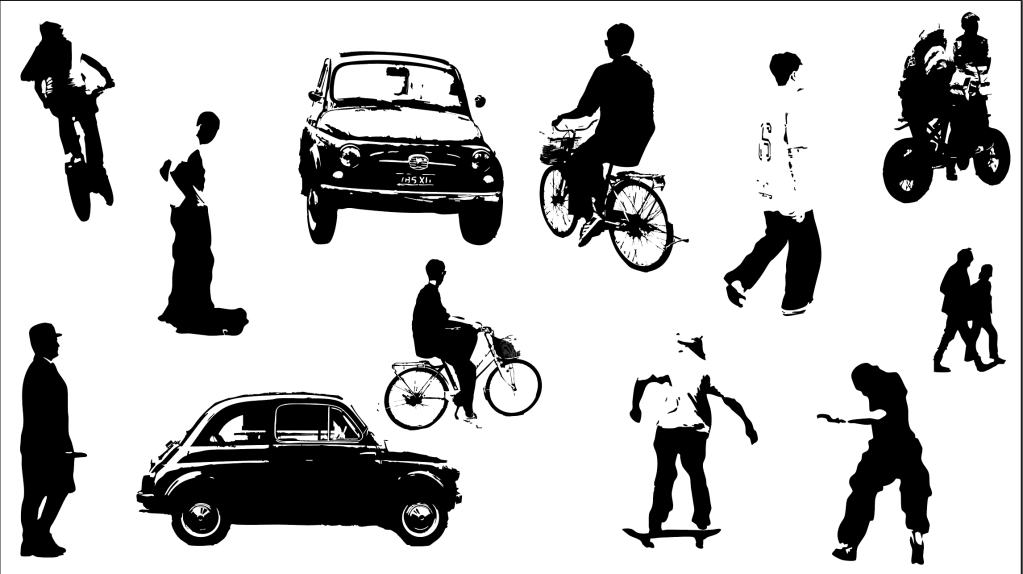
I then decided to use image trace to create people for sections, using photographs I took. This could give future section or perspective drawings nice personal touch.
Week 10
Photoshop introduction/exploration of ai tools
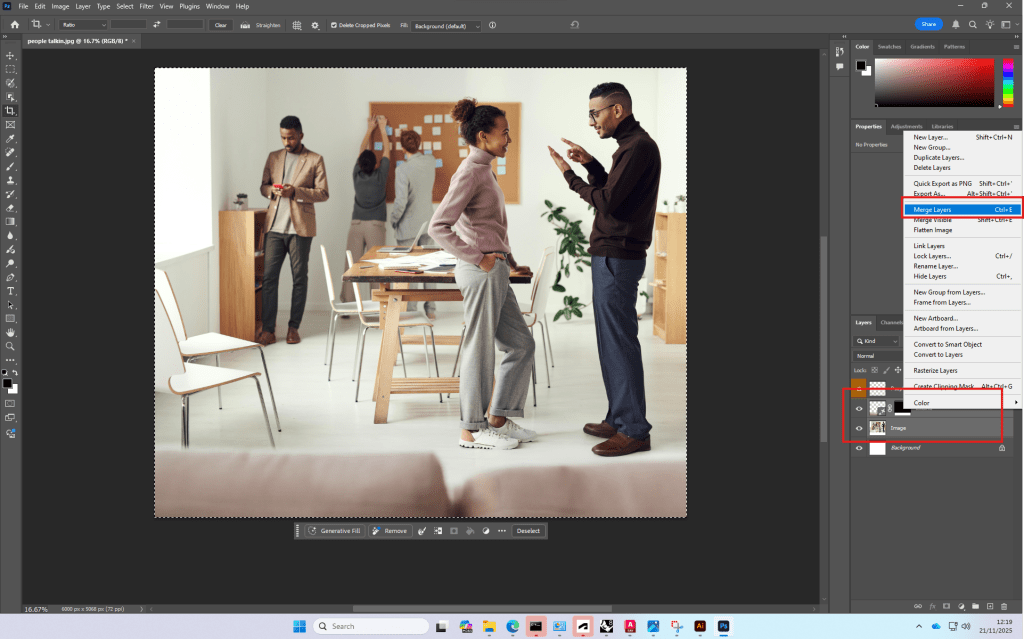
Due to a lot of Plant technology-work in photoshop I was already familiar with most of the photoshop tools.
We also had a quick introduction to
Week 11+12
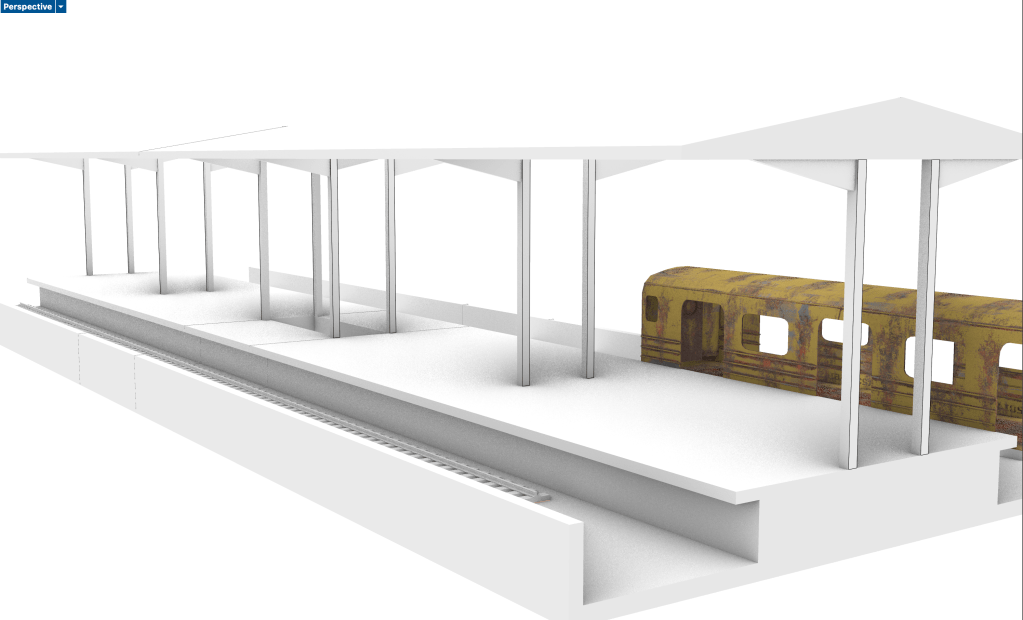
I used the last two lectures to add more detail to my rhino model and complete it before exporting the isometric and the views
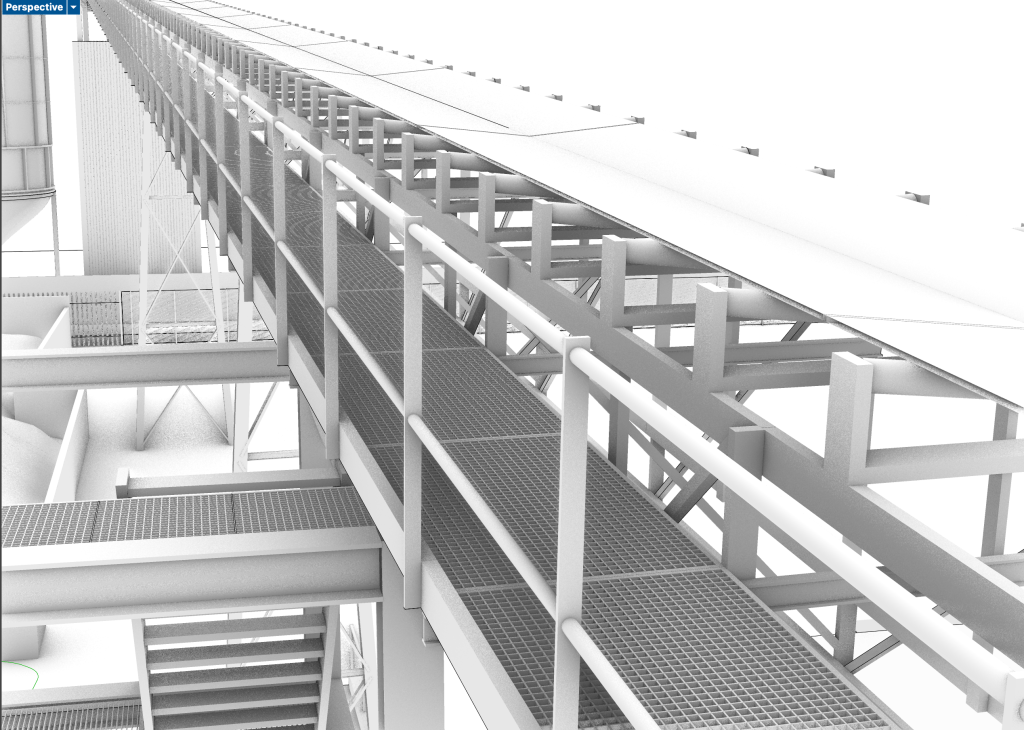
Conveyor belt+access structure
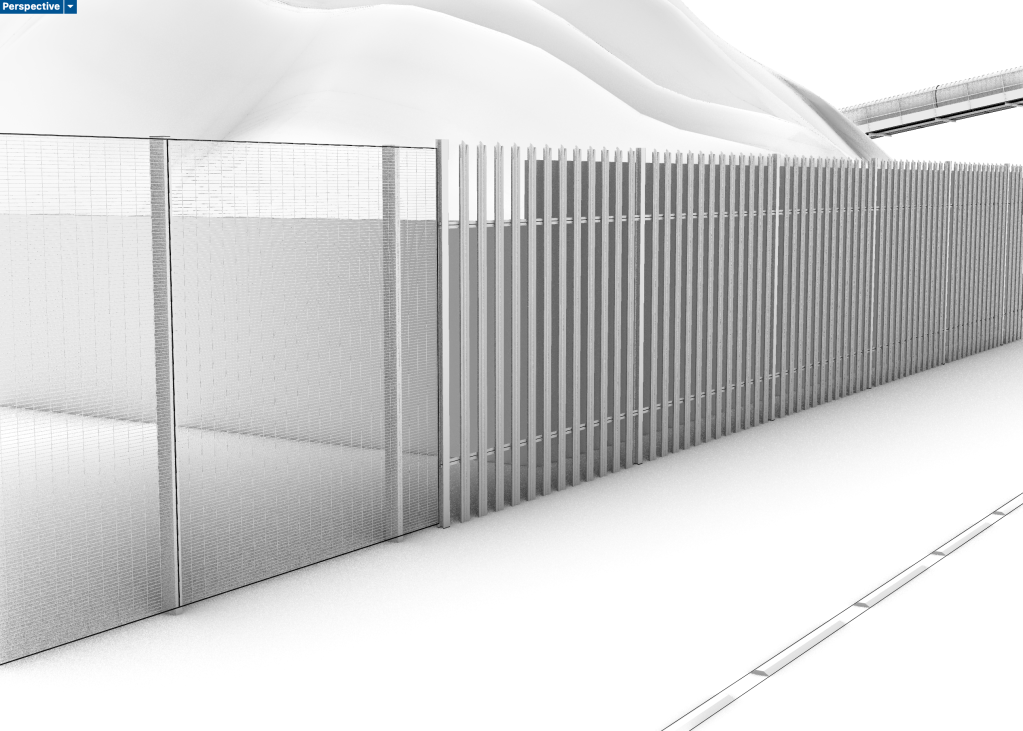
Fencing
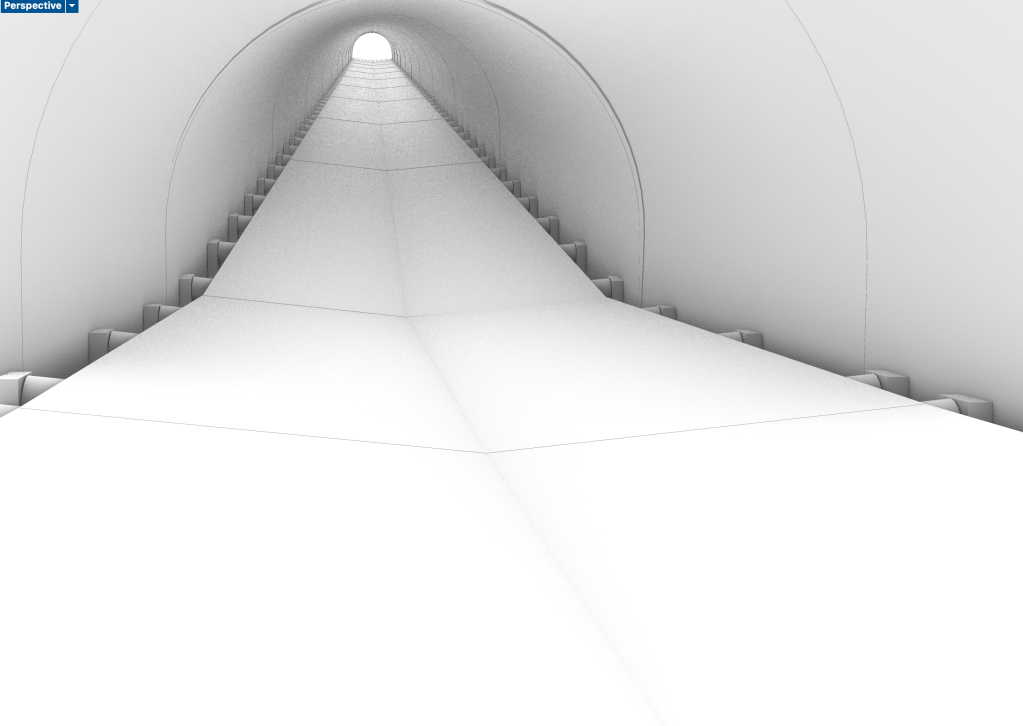
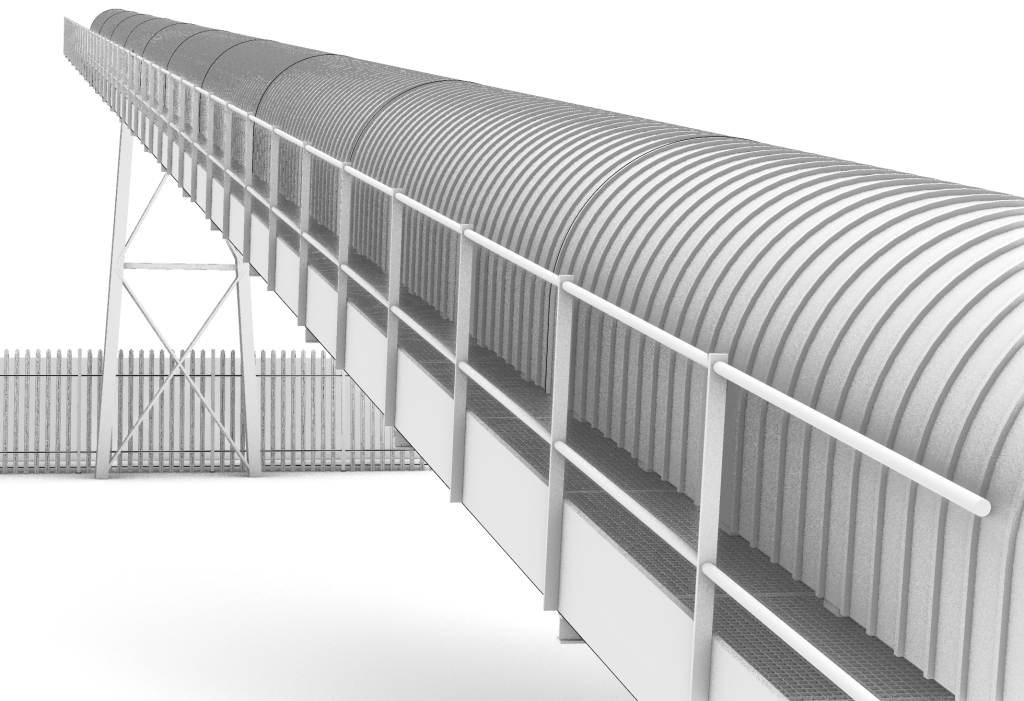
Second conveyor belt on site
When creating the views for my export I realised that a lot of the detailed information is not visible, so I could have kept it more simple in some areas and only focus on more detail in the visible area -> set views earlier.
While looking for inspiration for representation in llustrator and Photoshop I came across multiple approaches that mainly used black and white or had a very minimalistic use of color.
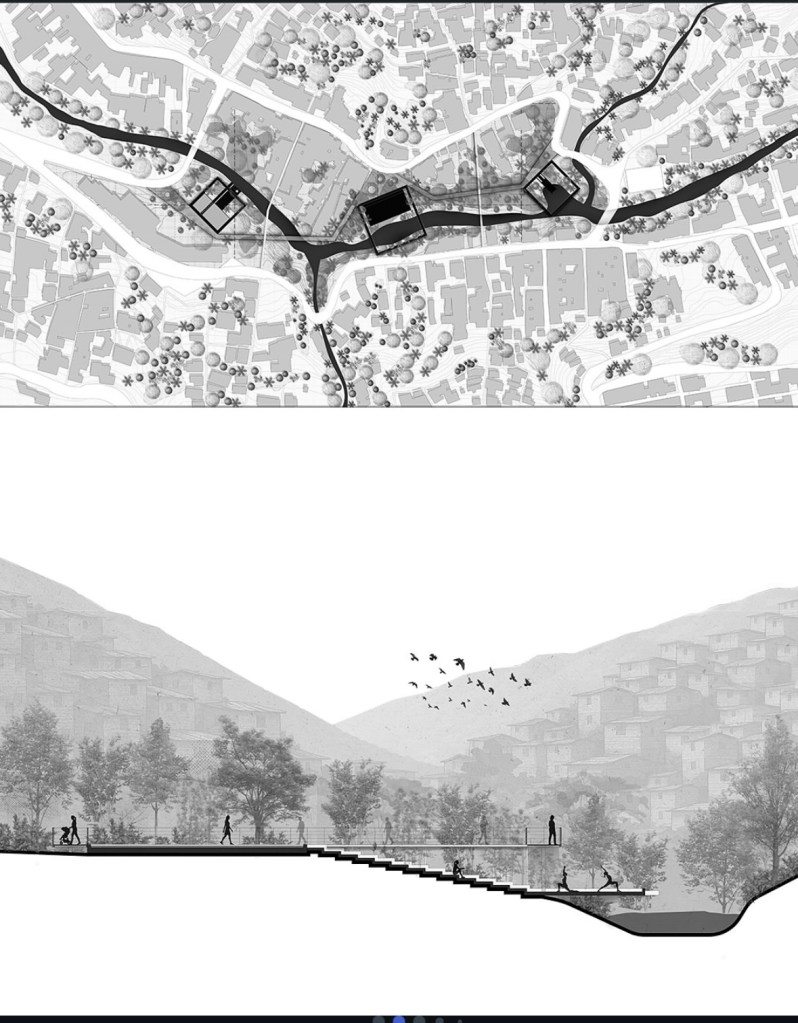
So I decided to try out a similar approach, only using different grey tones in illustrator, except one slight green tone to make the water surfaces stand out.
In that way, the industrial feeling of the site and the dominance of concrete could be represented in the drawings. The feeling should be communicated by textures instead of colors.

Leave a comment